
Table of Contents
EXTERIORVIBE.BIZ.ID – The Steam Deck, a powerful handheld gaming PC, occasionally encounters software glitches or boot-up problems. Fortunately, Valve provides a robust Steam Deck recovery process to help users resolve these common system issues effectively.
Understanding when and how to perform a recovery is crucial for maintaining your device’s optimal performance and ensuring a smooth gaming experience. This guide will walk you through the necessary steps to restore your Steam Deck if you face any significant software malfunctions.
When to Consider Steam Deck Recovery
You might need to perform a recovery if your Steam Deck refuses to boot, gets stuck on the Steam logo, or exhibits persistent software errors. Severe operating system corruption or a desire for a complete factory reset are also valid reasons to initiate this process.
Ignoring these signs can lead to further complications, potentially making your device unusable for gaming. Acting promptly with a recovery solution can prevent more drastic measures down the line.
Preparing Your Recovery Environment
Before you begin, gather a few essential items to ensure a successful recovery operation. You will need a USB-C flash drive with at least 8GB of storage, a working computer, and a reliable internet connection.
Additionally, make sure your Steam Deck is fully charged or connected to its power adapter to avoid any interruptions during the recovery process. Backing up any important files from the device to a cloud service or external storage is also highly recommended if possible.
Creating the Bootable USB Drive
The first step involves downloading the official Steam Deck recovery image from Valve’s support website. This file is essential as it contains all the necessary components to reinstall or repair SteamOS.
Once downloaded, use a utility like Rufus (for Windows) or BalenaEtcher (for cross-platform use) to “flash” this image onto your USB-C drive. This action converts your USB drive into a bootable recovery tool for your Steam Deck.
Executing the Recovery on Your Steam Deck
With your bootable USB drive prepared, connect it to your Steam Deck using its USB-C port or an adapter. Ensure the device is powered completely off before proceeding to the next step.
To enter the boot manager, hold down the Volume Down button and then press the Power button once, releasing Volume Down when you hear the boot chime. This action will present you with options for booting your device.
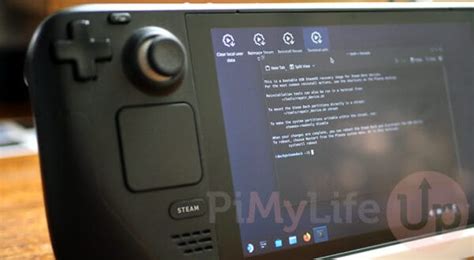
From the boot manager screen, select the EFI USB Device, which corresponds to your recovery drive, and press A to confirm. Your Steam Deck will now boot into the specialized recovery environment.
Understanding Recovery Options
Within the recovery environment, you’ll find several options to address your device’s state. “Re-image Steam Deck” performs a complete factory reset, wiping all data and reinstalling SteamOS from scratch.
Alternatively, “Reinstall Steam OS” attempts to refresh the operating system while preserving your user files and installed games, which is a less destructive option. Choose the appropriate action based on the severity of your issue and your data preservation needs.
Follow the on-screen prompts carefully to complete your chosen recovery method. Once the process is finished, your Steam Deck will reboot into a fresh or repaired system, ready for you to reconfigure and enjoy.
Written by: David Thomas